Bella FSM is designed around jobs since they are critical to your business. A new job can easily be created in different areas of the software depending on where you prefer to work. Here are several options:
Option 1
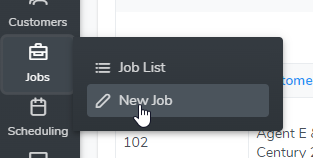
Click the left side menu ‘Jobs’ then select ‘New job’.
Option 2
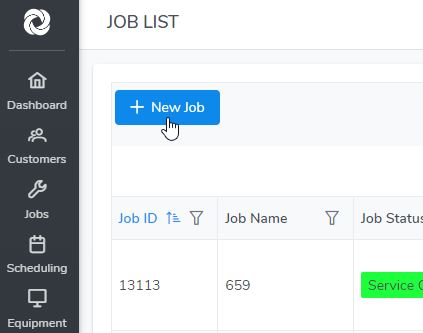
Click the left side menu ‘Jobs’ then click ‘Job List’ then click the ‘New job’ button.
Option 3
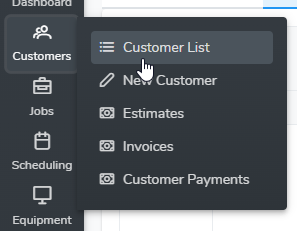
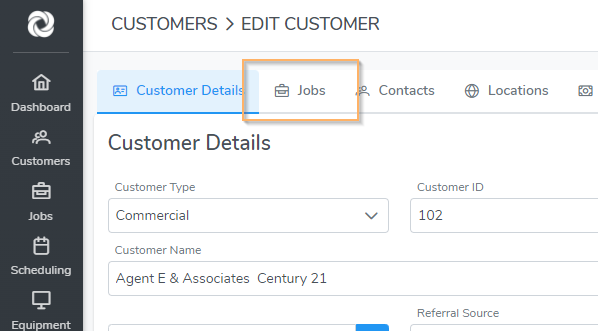
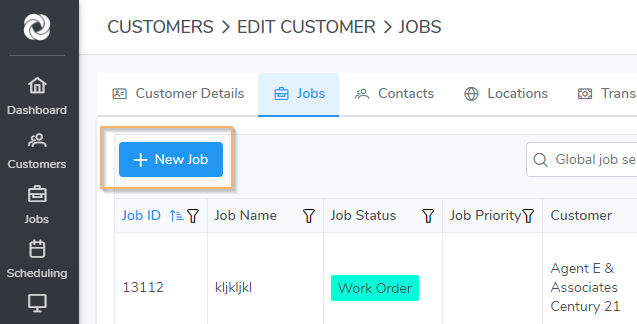
Click the left side menu ‘Customers’ then click on ‘Customer List’. Click on a Customer to open the Customer page then click on the ‘Jobs’ tab at the top of the Customer page. Click ‘New Job’.
Option 4
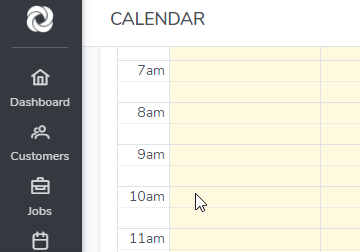
Click on an open time slot in one of the Day or Week views.
Job information
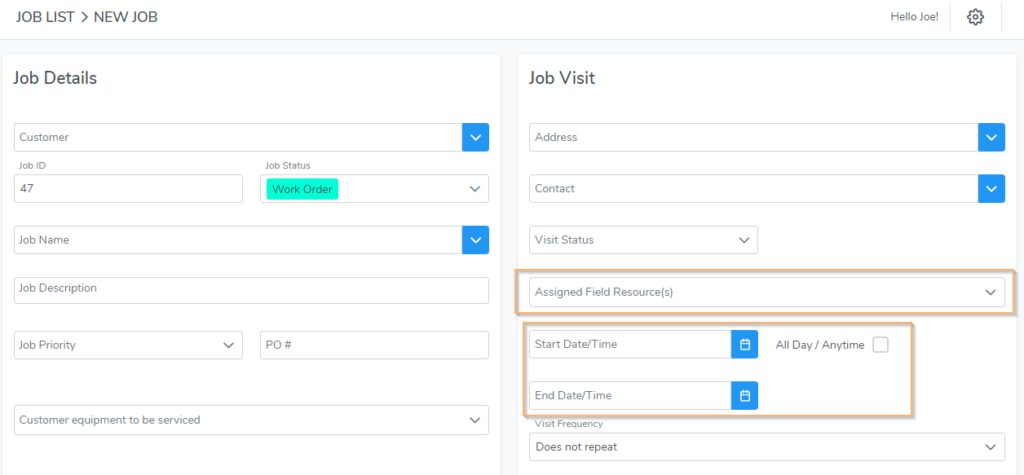
The only required fields are the Job ID and Customer when creating a job. The Job ID auto-populates but you can edit the value. The Job ID must be unique and cannot be the same as another Job ID.
Select an existing customer in the drop down or create a new customer by selecting ‘Add New Customer’ in the drop down.
Enter any additional job information as needed such as Job Name, Job Status, and Description, etc…
You can schedule and assign the Job now or at another time. To schedule a job visit, enter the date and time. To assign the Job to a Field Resource use the Field Resource drop-down:
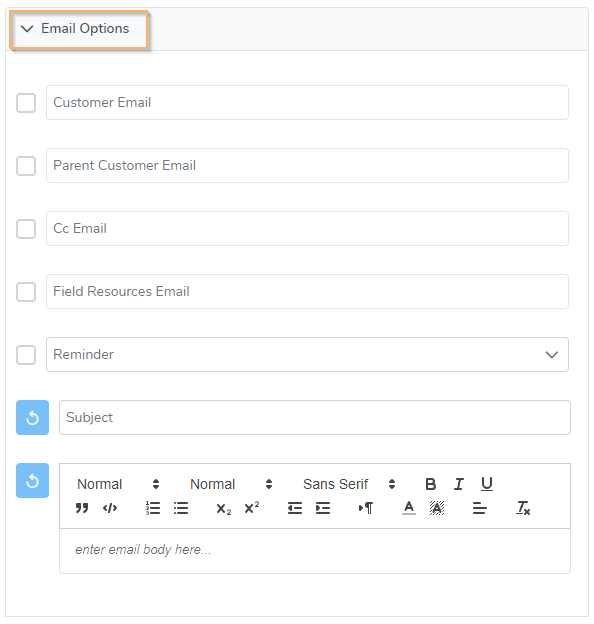
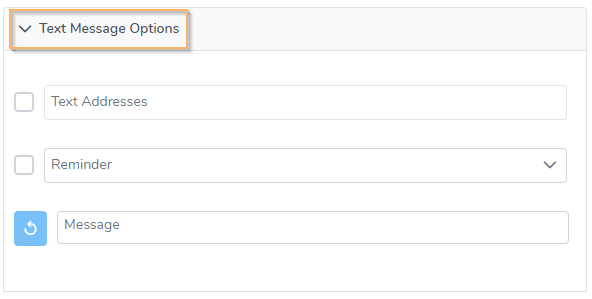
If you want to send an email or text message alert then select ‘Email Options’ and ‘Text Alert Options’. When you save the Job, the email and text will be sent.
Job Items
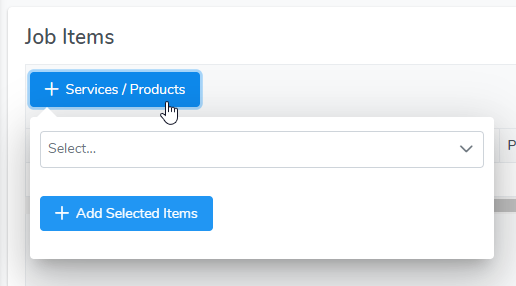
Job Items are the services you will provide to the customer including labor, materials, and expenses. They function the same way as in QuickBooks and other accounting software. The items you select will be included on the estimate, work order and invoice. Add items (product and services) by clicking the ‘Services / Products’ button in the Job Item section.
- When creating a new job, the Job Items section will display. Enter a quantity for each item you want added to the job.
- If you are an admin user, or have the correct permission as a standard user, you will be able to edit the item name, description, price and cost.
- Note – if you edit a job item, it is only modified for that job. In other words, each time you create a new job or edit an existing job and add items, the items from the Accounting Item List will display.
- When editing a job, click the ‘Products & Services’ button to add additional job items. Items may be added, edited, or removed at anytime.
- To edit a job item, click on it in the Job Item list and the Edit Item popup will open.
NOTE – A Sales Tax Item added to the Job Item list will apply the tax rate to the item directly above it (if it is taxable). You can reorder the job items by dragging the items up/down in the list (click and hold on the three bars in the first column).
If you add a Sales Tax Item (or discount item) in the total section just below the Job Item list, the tax rate will be applied to all taxable items in the job item list.
Visit Jobs Overview for an overview of managing jobs for you business.
