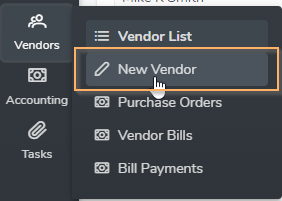
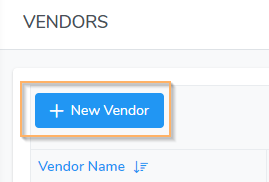
Create a vendor by either clicking the left side menu ‘Vendors’ then selecting ‘New Vendor’, or the ‘New Vendor’ button located at the top of the Vendor List. Both will open the new vendor page.
Creating a New Vendor
The New Vendor page will open and you can enter information:
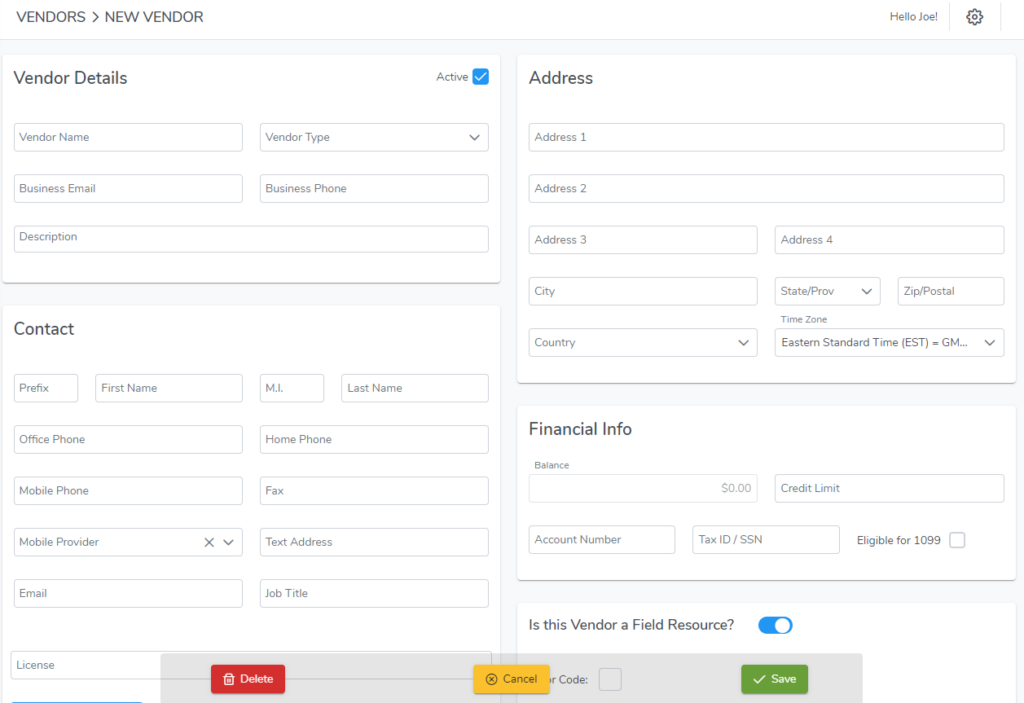
Vendor Details
The only required field is vendor name when creating a vendor. The vendor name can be a company name or an individual’s name. Select the vendor type, and enter the vendors business email and phone if the vendor is a company.
Contact
Enter the vendor contact information. If the vendor is an individual, enter their name as the Vendor Name and also enter in the contact section.
Address
The address for the vendor.
Financial Info
You have the option to enter a credit limit, account number, and Tax ID or SSN. The balance will display the balance of any Bills received and Bill Payments made for this vendor.
Field Resource
If you want to be able to assign this vendor to jobs, select this option. If selected, the vendor will be displayed in the Field Resource dropdown on the job page.
Work Types
If you have work types active in your account and you set this vendor as a ‘Field Resource’, you have the option to assign this vendor work types. Think of work types as a skill set. If you select a work type in the visit section on the job page, the Assigned Field Resource drop-down will filter to only display field resources that are assigned that work type.
Vendor Color Code
If you set the vendor as a Field Resource, you have the option to assign a color code. The color code will display as the background on the calendar for jobs assigned to this vendor when the ‘Visit Color Code Filter’ in the calendar is set to Field Resource.
Vendor Type
Vendor types are optional and simply a way to help you organize. Several vendor types were created with your account which may be edited. Tax Agency cannot be modified. Additional vendor types may be added by clicking the gear icon in the upper right corner then selecting ‘Terminology’.
Text Alerts
Enter the vendors mobile phone then select the vendors mobile provider. The ‘Text Address’ will auto-populate. When you assign this vendor to a job, you will have the option to send them a text message alert.
Email Alerts
Enter the vendors email address to receive email alerts when assigned to a job. When you assign this vendor to a job, you will have the option to send them an email alert.
Make sure to click the green ‘Save’ button at the bottom of the page when done!
Please see Vendors Overview for a high level overview
Editing a Vendor
To edit a vendor click the left side menu ‘Vendors’ then ‘Vendor List’.
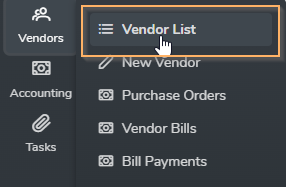
When viewing the vendor list, use the search feature to find the vendor. When found, click anywhere in the row to open the Edit Vendor page.
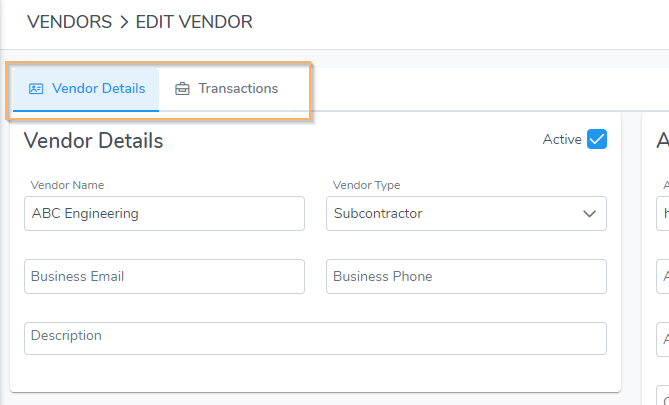
Edit any of the information as needed. You will see menu tabs at the top of the Edit Vendor page. Click the ‘Transactions’ tab to view transactions associated with the vendor. Click the ‘Jobs’ tab to view jobs this vendor is assigned to.
Don’t forget to click the ‘Save’ button at the bottom of the page if you made any edits!
