Job management is critical for your business. Below we will review how jobs are used to generate estimates, work orders, invoices, recurring services, contracts and more.
The Job List contain all of the jobs you have created. To view the Job List click the left side menu ‘Job List’:
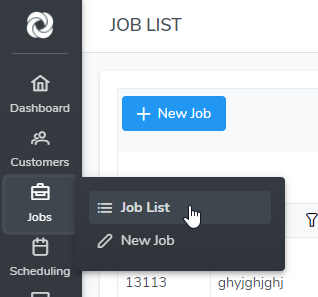
To view or edit a job, click on the job in the list. To create a new Job click ‘New Job’ in the the left side menu or button at the top of the list.
Job List Column Filters
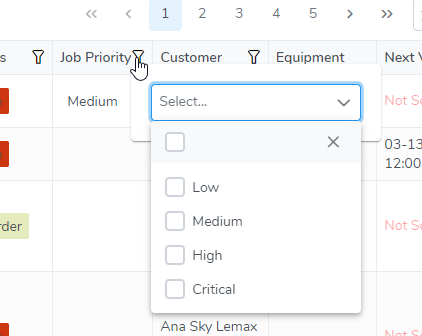
The Job List has several column filters. Click on the small funnel icon in the column header. Column filters can be used in combination.
Global Job Search
In addition to the column filters, you can use the search bar as a quick way to find a job. Simply start typing in the input field and the job list will filter.

Job Status
Job Status is one of many customizable terms used to organize and manage your jobs. There were several Job Status’s created automatically when you created your account. These can be edited and more created by clicking the gear icon in the upper right corner then selecting ‘Custom Terms’. The default Job Status’s and their definitions are:
- Estimate – A new or existing Customer requesting a Job Estimate. An Onsite Estimate can be Scheduled or an Estimate created on the phone and emailed or faxed to customer. It is your option depending on your business.
- Lost Estimate – You did not win the business. The details can be added to the notes in order to review Lost Estimate history and increase your win/loss ratio.
- Work Order – Work Order requested from customer. The Job Status may be changed from Estimate to Work Order or a new job with status of Work Order can be created.
- Invoiced – Job has been invoiced
- Closed – Payment has been received by customer and the job is closed
Recurring Job Visit
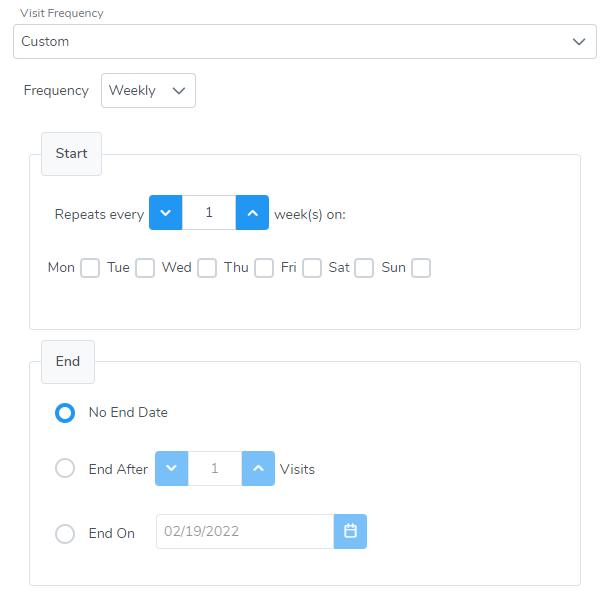
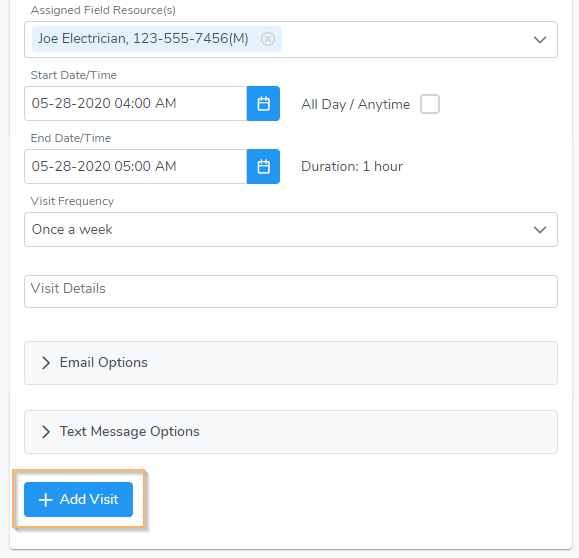
To set up a recurring job visit, select the frequency in the ‘Visit Frequency’ dropdown in the Job Visit section. You can select one of the standard frequencies or ‘Custom’ which will display more options.
Multiple Job Visits
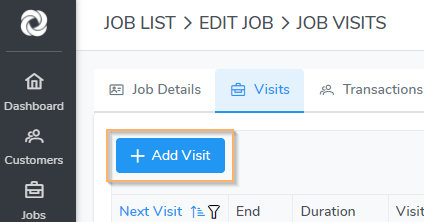
If multiple visits need to be scheduled to complete a Job, click the ‘Add Visit’ button in the Job Visit section of the Job page or at the top of the Job Visits list. A different Field Resource may be assigned to each visit.
Job Visits List
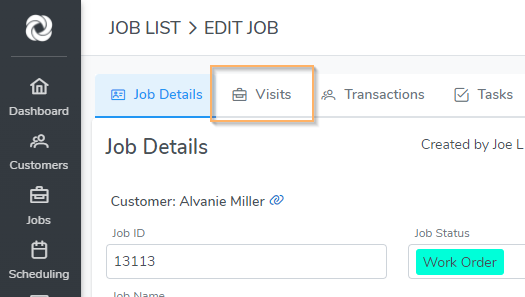
If you added more than one visit to a job, it will be displayed in the Job Visits list located at the top of the job page as shown below. Additional visits can be created by clicking the ‘Add Visit’ button.
Editing a Job Visit
Click on the visit in the Job Visits list or click the visit in the calendar.
Sending Text Alerts
Send an email or text alert to the assigned Field Resource for any job by selecting Email Options and/or Text Message Options in the Job Visit section on the Job page.
Work Orders
Once you have entered all of the job information, click the ‘Action’ button located at the bottom of the job page then select ‘Work Order PDF’.
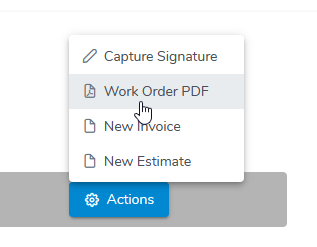
You can customize PDF forms by clicking the gear icon in the upper right corner then selecting ‘PDF Forms.
Estimates
To create an estimate (quote), first create a job. Set the job status to ‘Estimate’ for easy tracking or any other job status you create. Add/edit the Job Items (products and services) and information about the job as needed.
Click the blue ‘Action’ button at the bottom of the job page and select ‘New Estimate’
If your customer wants to move forward, simply edit the job and update the job status to ‘Work Order’ (or any job status you create) and schedule it.
Invoices
To create an invoice, open an existing job or create a new job. Add/edit the Job Items (products and services) as needed.
Click the blue ‘Action’ button at the bottom of the job page and select ‘New Invoice’
You can create multiple estimates and invoices from a single job. No need to enter all the data again and again.
Job Reports
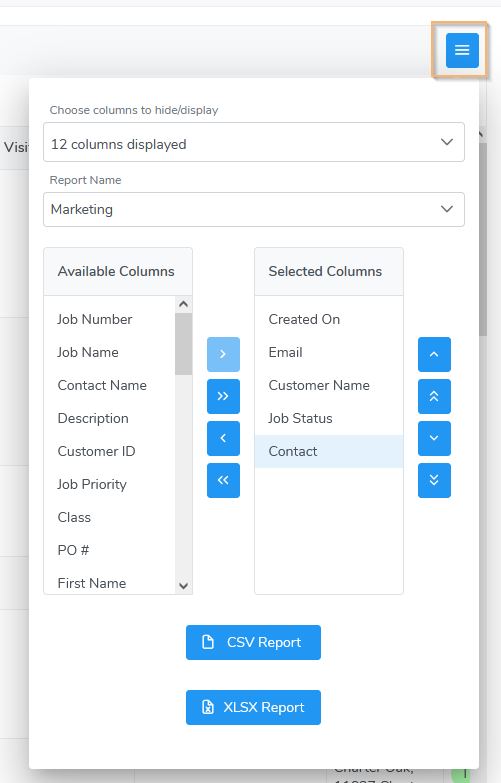
To run a job report, click on the blue button with three horizontal lines in the upper right corner of the Job List data table.
Select each column you want included in the report then select either CSV or XLSX.
Custom Reports can be created by clicking the gear icon in the upper right corner the selecting ‘Reports’. This will save you time from selecting columns again if you run the report often. If you create a custom job report, you will be able to selecting it in the Report Name drop-down shown below.
Job Tasks
Tasks can be creating specifically for a job. Click the ‘New Task’ left side menu. The task will also be placed in the main Task List. Any task assigned to an employee or vendor will display on their ‘My Dashboard’ page.
New Job
The create a new job click the ‘New Job’ left side menu or the ‘New Job’ button at the top of the Job List to open the new job page.
Editing a Job
To edit a job, click on the job in the Job List and edit as needed. Click the green ‘Save’ button after you make any modifications.
