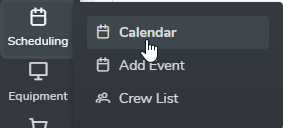
Easily create jobs and schedule work orders for your customers. The calendar is flexible to schedule by an available date and time or by a specific field resource’s availability. To view the calendar click the left side menu “Scheduling” then click “Calendar”
Calendar Settings
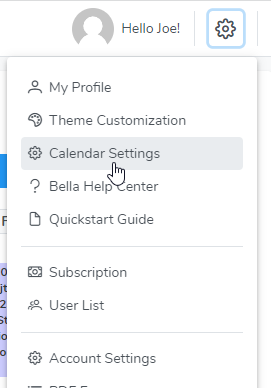
Access the calendar settings by clicking the gear icon in the upper right corner then clicking “Calendar Settings”. Each user, including Admin and Standard users, can select their own settings.
Calendar Filters
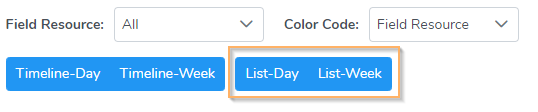
Filers are located along the top of the calendar.
- Field Resource – use this filter to view the schedule of specific field Resource or crew.
- Color Code – this filter gives you the ability to select from four options for the job visit background color. Colors can be assigned to Job Status’, Location Zones, and Visit Status’ in the Admin section by clicking the gear icon in the upper right corner then selecting “Custom Terms”. Colors can also be assigned to employees or vendors if they are designated as a field resource. Calendar Color View options:
- Job Status
- Field Resource
- Location Zone
- Visit Status
Calendar Views
- The “Month View” displays the schedule for the entire month.
- The “Day” and “Week” views display the schedule vertically with a column for each field resource and crew.
- The “List-Day” and “List-Week” display a schedule summary in a list format.
- The “Timeline-Day” and “Timeline-Week” display the schedule in a horizontal view.
- The “Today” button will bring you back to the current date.
Day or Week Schedule Summary
To print or email a day or week schedule, select the calendar view “List-Day” or “List-Week”. In your internet browser menu select “Print”. The print menu can be used for any of the calendar views.
Creating a New Job
Create a new job by clicking on a date in the month view or an open time slot in the day or week views. See Creating a New Job for more details.
- Click and hold on a job visit in the calendar to drag and drop to another date and time. A job visit may be drag and dropped in each calendar view.